
HOW TO MAKE BUTTERFLIES FROM PAPER?
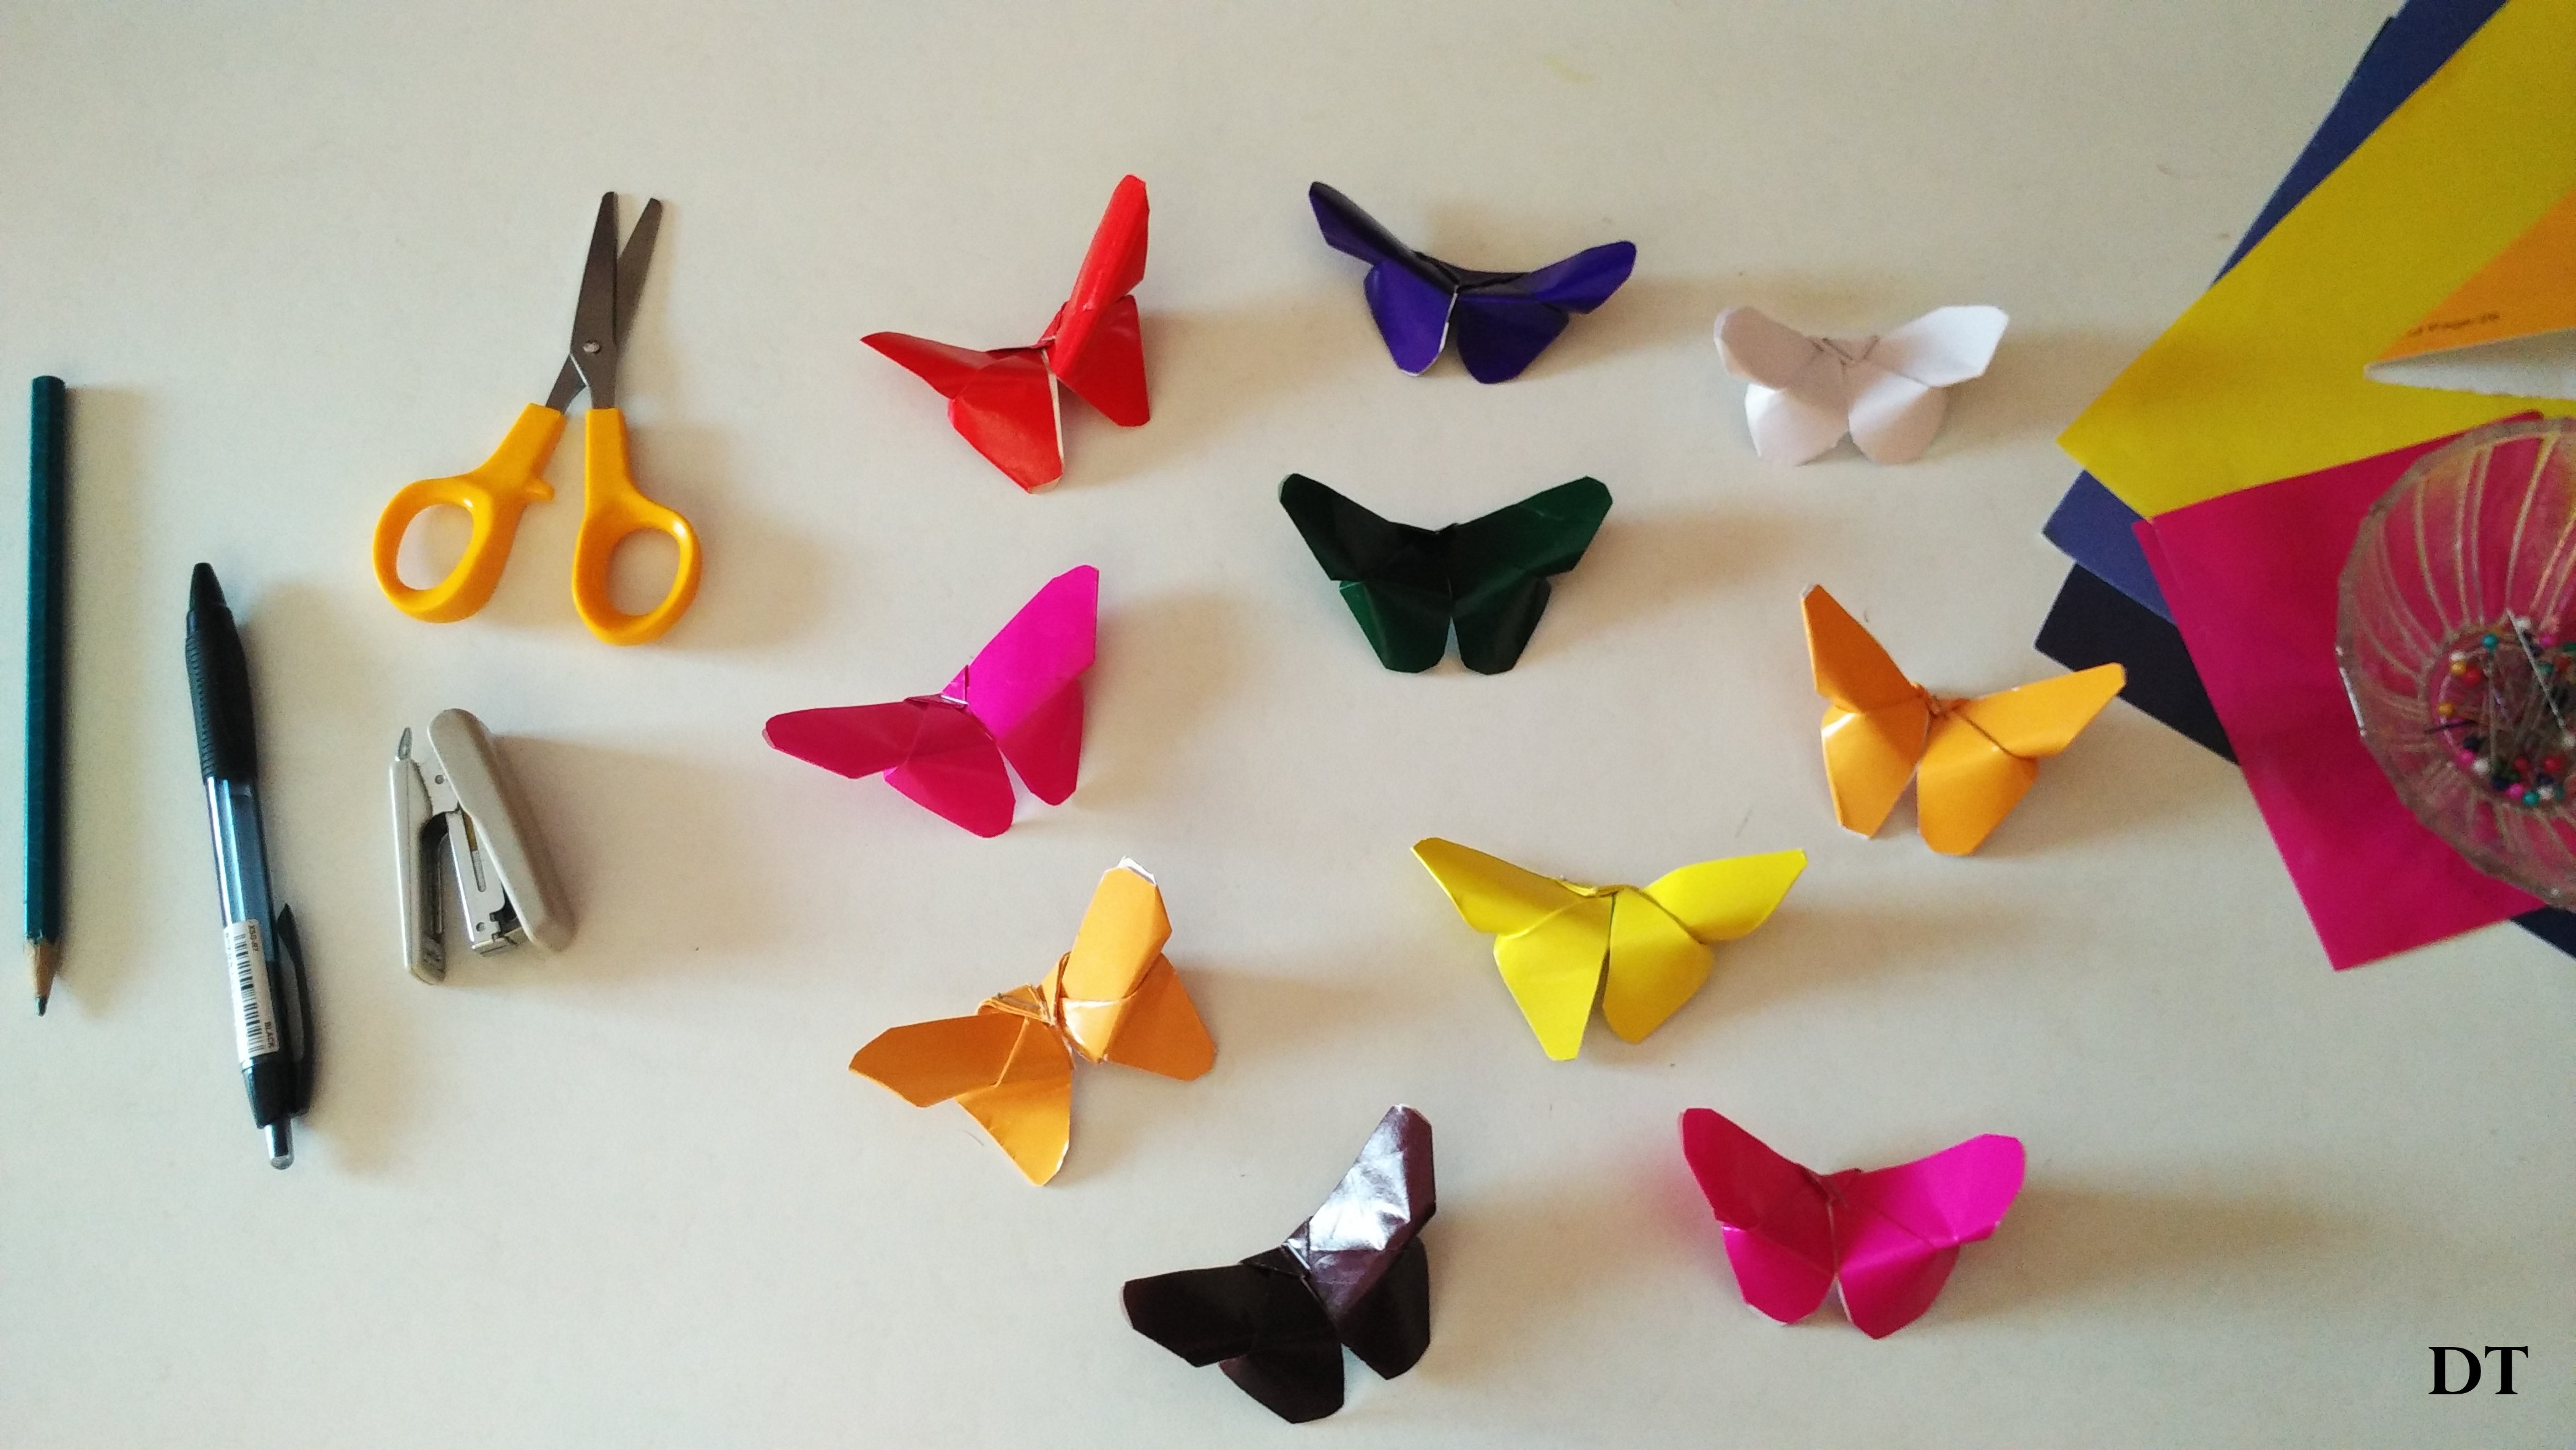
Butterflies are colourful, attractive and beautiful insect that everyone loves it. Creating butterflies is as easy as it is. And this post is all about creating a butterfly in 3 different ways. These are the cheapest ways of making butterfly as we are using papers and the things we found in our home.
SIMPLE AND MEDIUM
For creating butterflies using papers, I used 3 methods. Each method is absolutely easy but for namesake, I separated those methods as 3 levels namely,
- Simple
- Medium
- Hard
Here we are going to discuss about simple and medium ways of making butterfly, which everyone can make.
SIMPLE / PAPER CUTTINGS
The Simple method is very easy where we can create a butterfly in minutes. Briefly, this method involves cutting a paper in a butterfly shape. How easy it is? Now let us see how I made butterfly using this method.
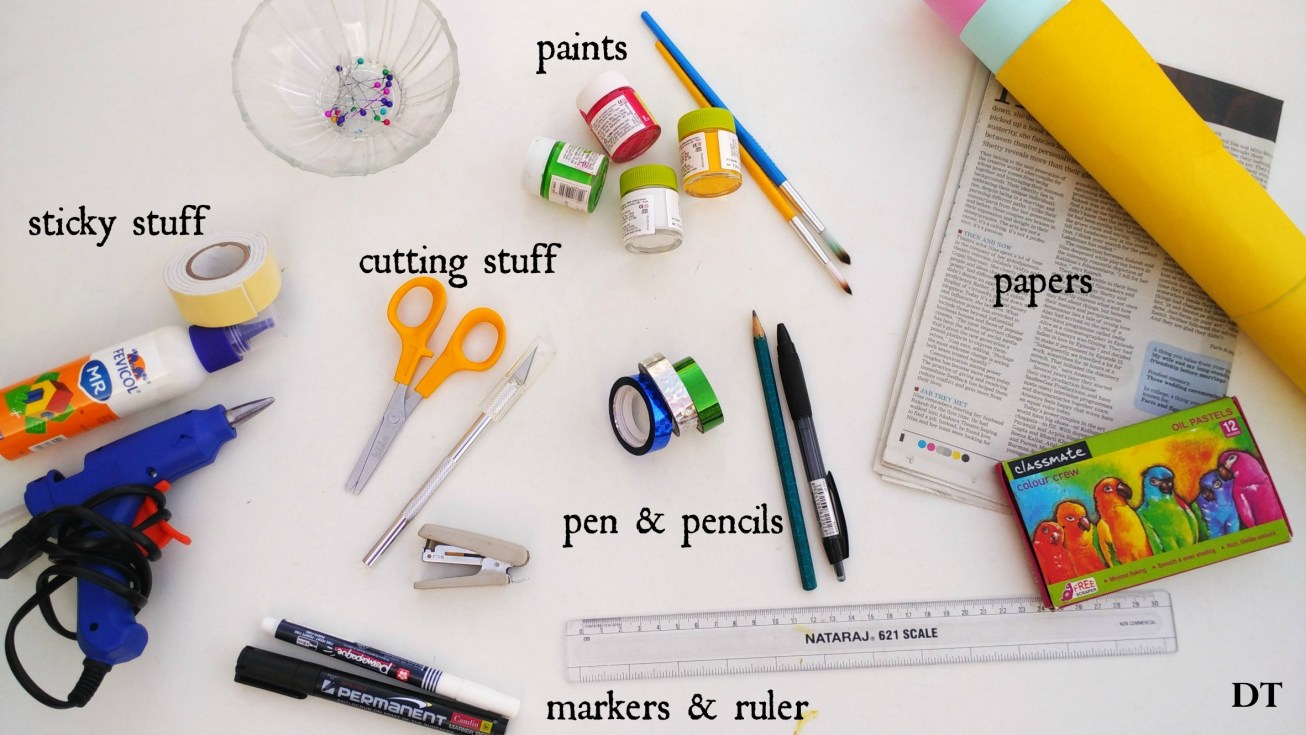
REQUIREMENTS
The basic requirements are paper, scissors and pencil.

- Scissors – Godrej : hobby and craft scissors
- Papers
- X-Acto knife – precision knife
- Rulers
- Markers – Camlin – black permanent marker
- Pen & pencils
- Double sided Tape – a simple double side tape
- Glue
- Cutting mat – basic cutting mat
STEP-WISE INSTRUCTIONS

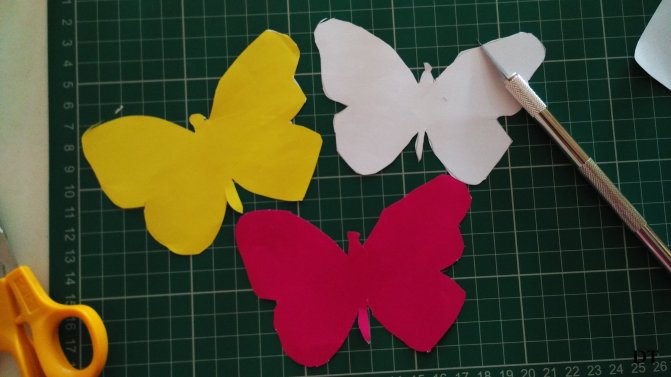
Step 1 : Take a plain paper and draw the outline of a butterfly. Just have a freehand sketch as butterflies are in many different form out there. So choose whatever shape you like. I used reference image from google to draw the outlines.

Step 2 : Now cut out the outline sketched as we can now use it as a template. Here I have cut using scissors and X-acto knives, as I wanted.

Note: If you are not sure about the shape, you can fold the paper into two, draw one side of the butterfly and cut the shape holding two paper together. Because, the wings of the butterflies must be symmetrical. As the result you will get the even cut out of a butterfly.
Step 3 : Now you can use this as a template and place it on another paper. Cut out along the outline.


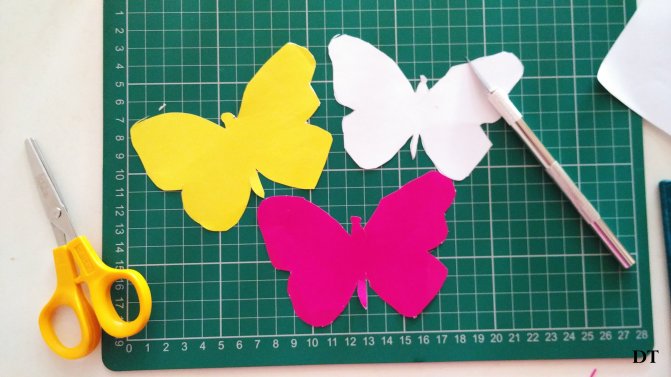
Step 4: You can also use newspapers. If you wish, you can also paint it after cutting.


Step 5 : After cutting the butterflies in your desired shape, pinch the butterfly on its body, by folding it.


Step 6 : Now place a glue or double sided tape on its body and stick it in your wall or wherever you want.

This is the easiest method and the outcome is pretty good.

I used it in my tree, that I have painted in my room.

MEDIUM / ORIGAMI METHOD
The next method is Origami. Creating butterflies using this origami method is my go to method. It gives a three dimensional look. I used this method in my previous post. If you are interested on how I used it, Click here : Wall art challenge.

REQUIREMENTS
You will need origami paper and scissors.

STEP-WISE INSTRUCTIONS

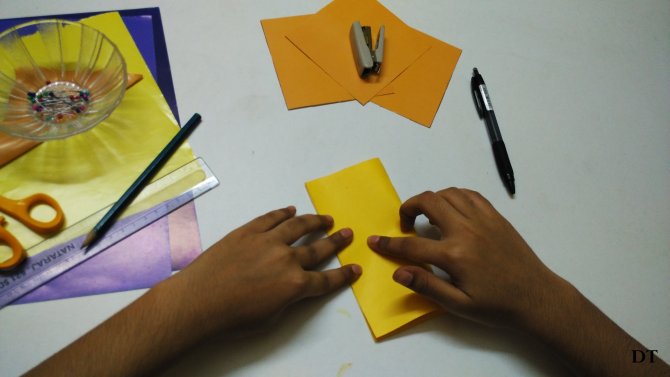
Step 1 : Take a square paper.

Step 2 : Do the basic folds.


Step 3: Hold the paper in diamond shape and pinch the edges inwards from the corners.

Step 4 : Do on both sides.


Step 5 : Fold the triangle.
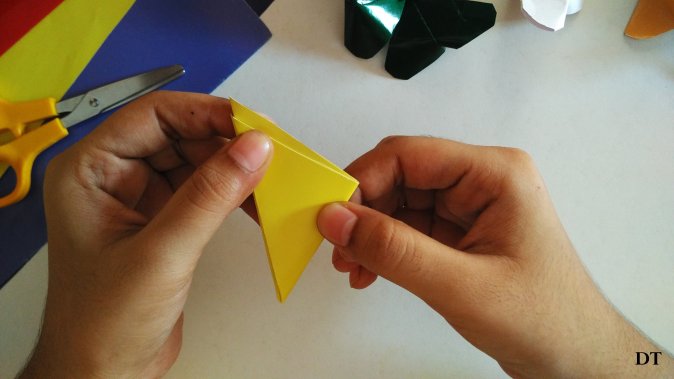
Step 6 : Now cut the edges and make them curved.


Step 7 : Back to triangle shape.

Step 8 : Take one curved edge from one side and fold it towards the centre.

Step 9 : Repeat on the other side. Press it firmly.

Step 10 : Flip the triangle. So that the folding facing down.

Step 11 : Take the sharp edge of the triangle and fold it towards the straight bottom line.


Step 12 : Now turn the piece, and fold the sharp edge downwards.


Step 13 : Press it firmly and one last step is pinch the centre folding.


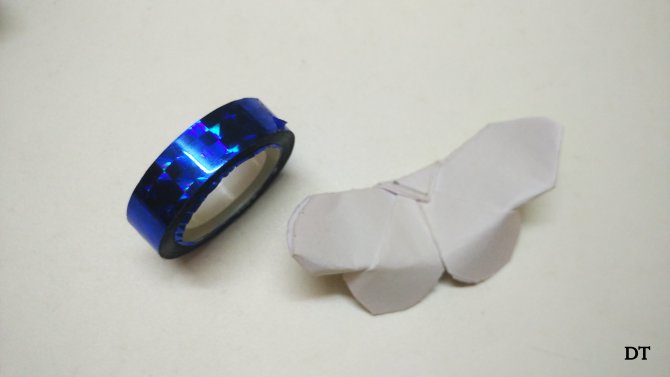
Finally origami butterfly is ready.

DECORATIONS
You can use washi tapes, glitter pens, or beads to decorate your butterfly.


I used this butterflies in my previous post of wall art challenge. In case you are interested, click here : tree wall art

These are the two methods of creating butterflies from paper. Hope you liked it.
Part 2 is the hard one, as it is customisable, more attractive than these two which I liked the most. In case if you are interested, click here : hard one!
*p.s. I created these butterflies for my future project. I hope that will be more fun and beautiful.
Comment below, which one you like the most.
**p.s. Follow diarytale on social media for more updates on what my next project is, what I am up to, little updates and much more fun things.
- Instagram – @diarytale
- Facebook Page – @diarytale1
- Twitter – @diary_tale
- Google plus – +DiaryTale
- Pinterest – diarytaleDT
Really awesome preethi!!!
Thanks @ chevvanthi
Good work😍
Thanks @Lawan!
Impressive and lovely work… great effort.
Congrats to the author.
Thanks and regards
Vivasayi.
Thanks @ vivasayi