
Papercraft Series 01: ORIGAMI SHAPES
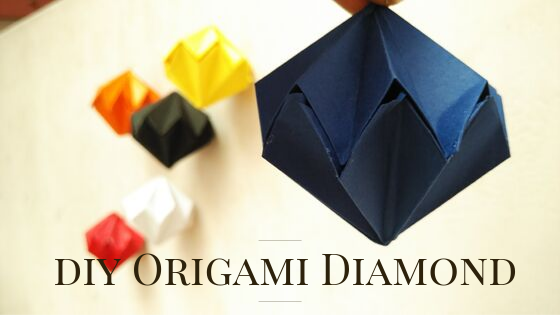
How to make an Origami Diamond?
Episode: 04
Hello readers! Since that we made easy origami shapes such as cube, heart, star in the previous episodes, I promoted myself to the next level. As my sister is teaching these origami things to me, when I said about the levels, she smirked and gave me two square papers. Let us see what she has for us in this episode.

In this blog post, we are going to make an origami diamond. This one is a little tricky but simple if we pay attention to each step. If you did not get it right in the first step, try again. Failed again? Take some rest and start from first. You will get it right soon. I made this origami diamond properly after almost 5 attempts and was so happy because the results are awesome.
Here is the fourth episode of the new series “Origami shapes”. This series consists of 5 episodes. So stick with us, tolerate our sarcastic moments in between, learn some easy crafts with us, and show some love by signing up our newsletters for further updates.

Do you remember? These diamonds are used in the Easy DIY Wall Decor post! If not, take a look at it. Click here: Wall hanging!
Links to the other episodes of this series.
REQUIREMENTS
To make this origami diamonds, You need some
- Papers, (if the paper is thick, you will feel hard to fold)
- Scissors,
- time,
- and patience.

SIZING INFORMATION –
All you need is two square paper of size 10 x 10 cm or 4” x 4”.

STEPS TO MAKE AN ORIGAMI DIAMOND
- Take a piece of square paper (10×10 cm)

- Fold the paper into half, from one corner to the other.

- Unfold the paper. Now fold in the other direction into half. From another corner to corner.
- Now unfold the paper. It will look like this.

- Fold the paper from bottom to top.

- Your piece should look like this if you unfold it.

- Now comes the tricky part. Fold the paper partially from the top corner to the bottom corner.

- Gently press the side corners to the middle.

- You will have something like this.


- Now, place the paper fold in such a way that the free ends/corners are away from you.

- Fold the sides towards the center.


- Repeat the folds in the backside also.

- Your piece should be like this at this step.

- Now trim off the top part.


- Gently unfold the paper folds, one at a time, from the left, and start folding inside out.


- Your paper will look like this at this stage.


- Now, Start folding the only corners, all in the same direction.


- Press all the folding gently.

- Unfold it.


- Now, fold only the corners inwards.


- Till now we have made only one half of the diamond. Now, take another square paper and repeat the steps from 2-20 to prepare the other side.

- Now that you will have two parts of the diamond.

- Put some glue on the foldings you made inwards and place the other part and gently press them.

- Wait till the glue gets dried.

- You are done! Origami Diamond is ready.

VIDEO TUTORIAL
For those who love to watch video tutorials, here is the link to our youtube channel. Watch and learn to make these adorable paper diamonds and start decorating your walls, Christmas trees, etc.
If you find this post on origami diamond interesting, share it with others. Or if you learned to make, then teach your kids or friends this simple craft.
Comment me below, if you like and find this method easy. Also, connect with us on social media. The links are given below.
- Instagram – @diarytale
- Facebook Page – @diarytale1
- Twitter – @diary_tale
- Pinterest – diarytaleDT
*P.S. Thanks for those who showed continuous support via subscription & social media. If you are new here, feel free to subscribe to us!
Have a good day!!